TL;DR
An SM-DP+ address is the internet address of the server that hands your eSIM to your phone. Normally a QR code fills it in for you; when the code won't scan, your phone asks you to type it in yourself, along with an activation code. The address says where to download from, the activation code says which eSIM is yours, and an optional confirmation code is an extra password some providers add. Get both straight from your provider and copy them in exactly, because they are case-sensitive and easy to mistype.
You are setting up an eSIM, the QR code won't scan or you were only sent a code in an email, and your phone lands you on a screen with an empty field labelled "SM-DP+ Address". That field is asking for one thing: the web address of the server that will send your eSIM to your phone. Once you know what goes where, manual entry takes about a minute.
What is an SM-DP+ address?
An SM-DP+ address is the address of the server that stores your eSIM and delivers it to your phone. SM-DP+ stands for Subscription Manager Data Preparation, and the address itself is a domain name, like example.provider.com, not a full web link. That distinction matters for one practical reason: you type it in without the HTTPS prefix and without any slashes. It is not a page you open in a browser, it is a destination your phone connects to in the background.
Every eSIM is a carrier profile, a small package of software that tells your phone which network to join and proves you are allowed on it. That profile sits on the provider's SM-DP+ server until your phone comes to collect it. The address is simply where your phone goes to pick it up.
SM-DP+ address vs activation code vs confirmation code
The manual entry screen asks for up to three things, and mixing them up is the single most common reason activation fails. They are not the same, and they do different jobs.
Field | What it is | Example |
SM-DP+ address | Where to download from (the server) | example.provider.com |
Activation code | Which eSIM is yours (a one-time claim token) | K2-1A2B3C-4D5E6F |
Confirmation code | An optional extra password, if your provider set one | often left blank |
If your provider gave you a single long string that starts with LPA:, that string already contains the first two. It looks like LPA:1$example.provider.com$K2-1A2B3C. The part between the first pair of dollar signs is the SM-DP+ address, and the part after it is the activation code. A QR code is just this same string in a scannable form, which is why scanning it fills both fields automatically.
How to enter an SM-DP+ address manually on iPhone
If the QR code won't scan, you can add the eSIM by hand. Make sure you are on Wi-Fi first, because the phone needs a connection to download the profile.
Open Settings, then Cellular (or Mobile Data).
Tap Add eSIM or Add Cellular Plan.
When the QR scanner opens, tap Enter Details Manually at the bottom.
In the SM-DP+ Address field, type the address exactly, with no HTTPS prefix in front.
In the Activation Code field, type your activation code (the part after the address).
Leave Confirmation Code blank unless your provider gave you one, then tap Next.
Apple's own guide to setting up an eSIM walks through the same screen if you want to check it against your iOS version, since the exact wording moves slightly between releases.
How to enter it manually on Android
The path varies by manufacturer, but the fields are identical. On a Google Pixel or most stock Android phones, the manual route looks like this. Samsung buries it under SIM Manager instead, so the menu names will differ.
Open Settings, then Network & internet.
Tap SIMs, then Download a SIM or Add eSIM.
On the QR scanner screen, choose Need help? or Enter it manually.
Enter the SM-DP+ address with no HTTPS prefix.
Enter the activation code in the next field.
Add a confirmation code only if you were given one, then continue.
Where to find your SM-DP+ address
Your SM-DP+ address comes from whoever sold you the eSIM, and there are three reliable places to get it:
The activation email or PDF your provider sent you, usually printed under the QR code.
Your provider's app or online account, on the eSIM's details or manual-setup screen.
The QR code itself: if you can see it but your camera won't scan it, read the LPA:1$... string off it and split it as shown above.
One warning worth taking seriously: do not type in an SM-DP+ address you found in a random article or a "carrier addresses" list online. These get copied around the web, they go out of date, and some of the ones circulating are not real addresses at all. Carrier-issued iPhone eSIMs often route through Apple's own provisioning host, gs.apple.com, but even that varies by plan and region. The address that works is the one your own provider gives you, so treat theirs as the only source of truth.
What is actually happening behind the scenes
None of this is needed to activate an eSIM, but it explains what the phone is doing while the profile downloads.
When you enter the address, a piece of software on your phone called the LPA (Local Profile Assistant) reaches out to the SM-DP+ server. Before it downloads anything, it checks the server is genuine by verifying a digital certificate, a kind of ID card signed by the GSMA, the industry body that runs the mobile standards. Once the server checks out, it looks up the specific profile your activation code points to and sends it down encrypted, scrambled so that only your phone can unscramble it.
That profile lands on a small dedicated chip inside your phone called the eUICC (embedded Universal Integrated Circuit Card), which is the modern replacement for the plastic SIM card. The eUICC can hold several profiles at once, and it is the only thing that can decrypt the one meant for it, which is what keeps your network identity from being copied. This whole exchange is the consumer version of a GSMA standard called remote SIM provisioning; there is a separate version for machines like smart meters and connected cars, which is roughly what the "+" in SM-DP+ marks out. That is as deep as it goes for a phone.
Troubleshooting manual entry
Most manual-entry failures come down to a handful of causes. Work through these before contacting anyone.
What you see | Likely cause | Fix |
"Invalid SM-DP+ address" | Typo, or you included the HTTPS prefix | Retype the address exactly, no slashes |
Nothing downloads | No internet connection | Connect to Wi-Fi and try again |
"Activation code invalid" | Case error, or code already used | Match capitals exactly; codes are usually single-use |
"Unable to add eSIM" | You have hit the phone's stored-profile limit | Delete an old eSIM you no longer need |
Still failing | The code was reissued or has expired | Ask your provider for a fresh QR code or code |
Codes are case-sensitive and often single-use, so copy and paste where you can rather than retyping. Once it goes through, you can confirm the eSIM installed correctly in your phone's cellular settings.
Using a Roamless eSIM
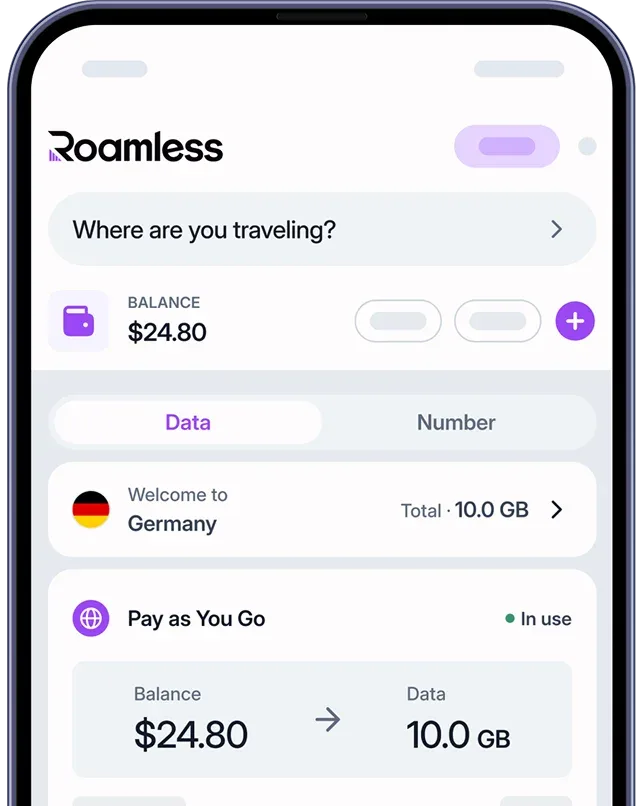
With Roamless you will almost never see this screen, because activation is a QR code you scan or a tap in the app. If you ever do need to enter details by hand, the Roamless eSIM shows your SM-DP+ address and activation code in the app, so you are copying from the source rather than guessing. Your Balance works the same way across 200+ destinations, so one setup covers a multi-country trip.
FAQ
What is an SM-DP+ address?
It is the address of the server that stores your eSIM and sends it to your phone during setup. Your phone connects to it in the background to download your carrier profile. It is a domain name, entered without the HTTPS prefix, not a link you open in a browser.
How do I find my SM-DP+ address?
Get it from your provider: the activation email or PDF they sent, their app or online account, or the QR code itself. If you can see the QR code's text string starting with LPA:, the SM-DP+ address is the part between the first two dollar signs.
What is the SM-DP+ address on iPhone?
There is no single iPhone address; it depends on which eSIM you are installing. On iPhone you enter it under Settings, Cellular, Add eSIM, then Enter Details Manually, using the address your provider gave you.
What is the SM-DP+ address for Verizon, AT&T, or T-Mobile?
There is no fixed public address to type for a given carrier. US carriers activate eSIMs mostly through their own app or a QR code, and carrier-issued iPhone eSIMs often route through Apple's gs.apple.com host, though this varies by plan. Get your exact details from the carrier rather than a list online.
Is the SM-DP+ address the same as the activation code?
No. The SM-DP+ address is where your phone downloads from; the activation code identifies which eSIM is yours on that server. They are entered in separate fields, and a QR code simply bundles both together.
Do I need Wi-Fi to enter an SM-DP+ address?
You need an internet connection to download the profile, and Wi-Fi is the easiest since you may not have mobile data yet. Any working connection will do, but the download will fail without one.
What happens if I enter the wrong SM-DP+ address?
Nothing is damaged. You will get an "invalid address" or "cannot add eSIM" error and the profile simply won't download. Correct the address, most often by removing the HTTPS prefix or fixing a typo, and try again.